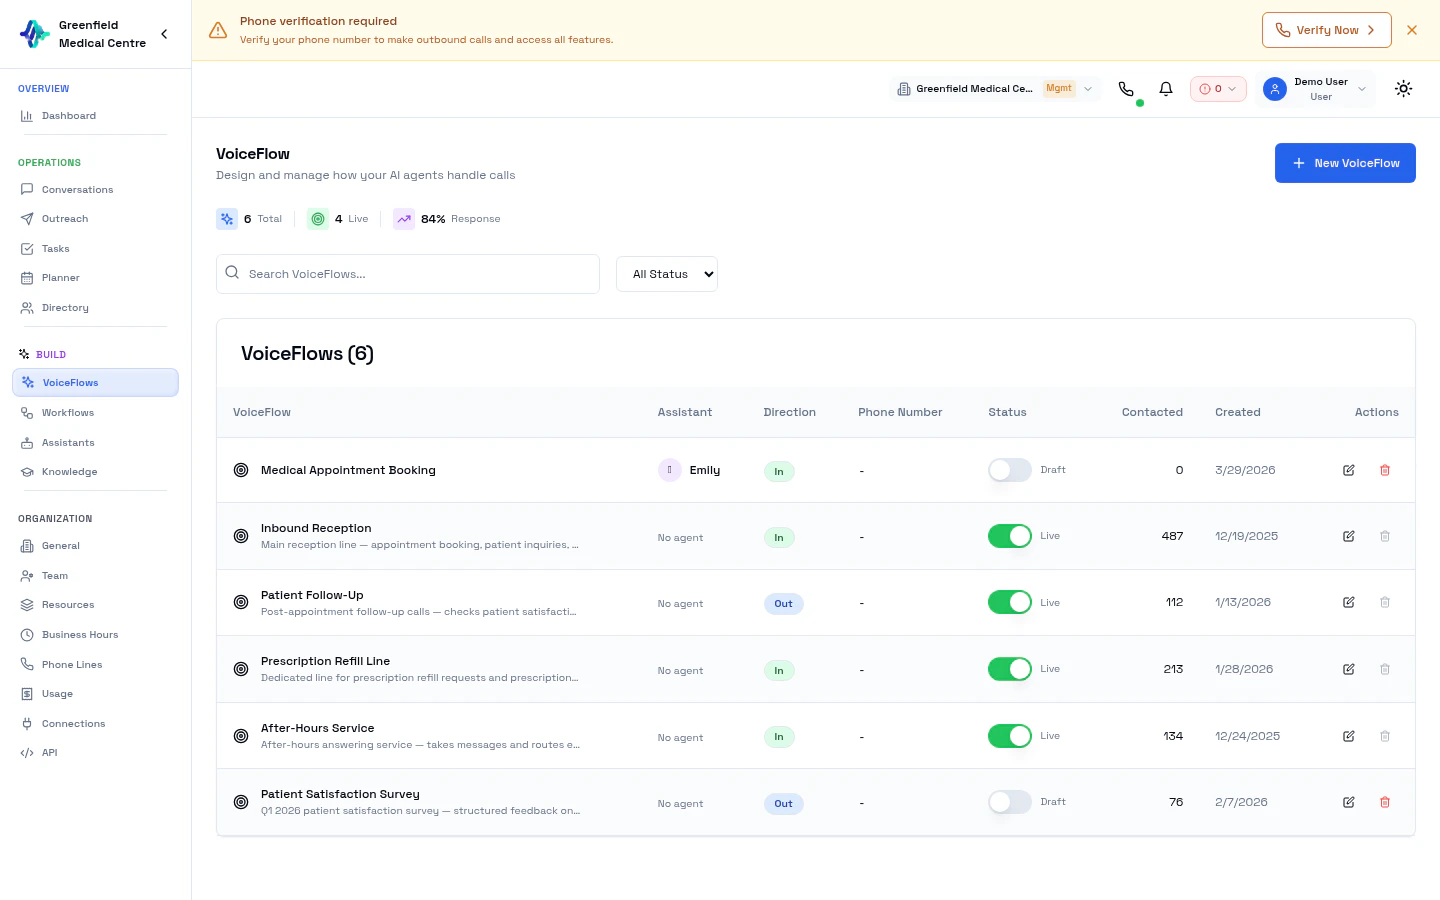
VoiceFlow Overview
Each VoiceFlow includes:- An AI Assistant that handles the call
- A Phone Line used as caller ID (outbound) or receiving line (inbound)
- A Direction setting (Inbound or Outbound)
- Settings for greeting, instructions, tools, post-call automation, and analytics
Creating a VoiceFlow
Click New VoiceFlow to launch the AI-powered creation wizard. You can describe what you need in plain language or pick a template.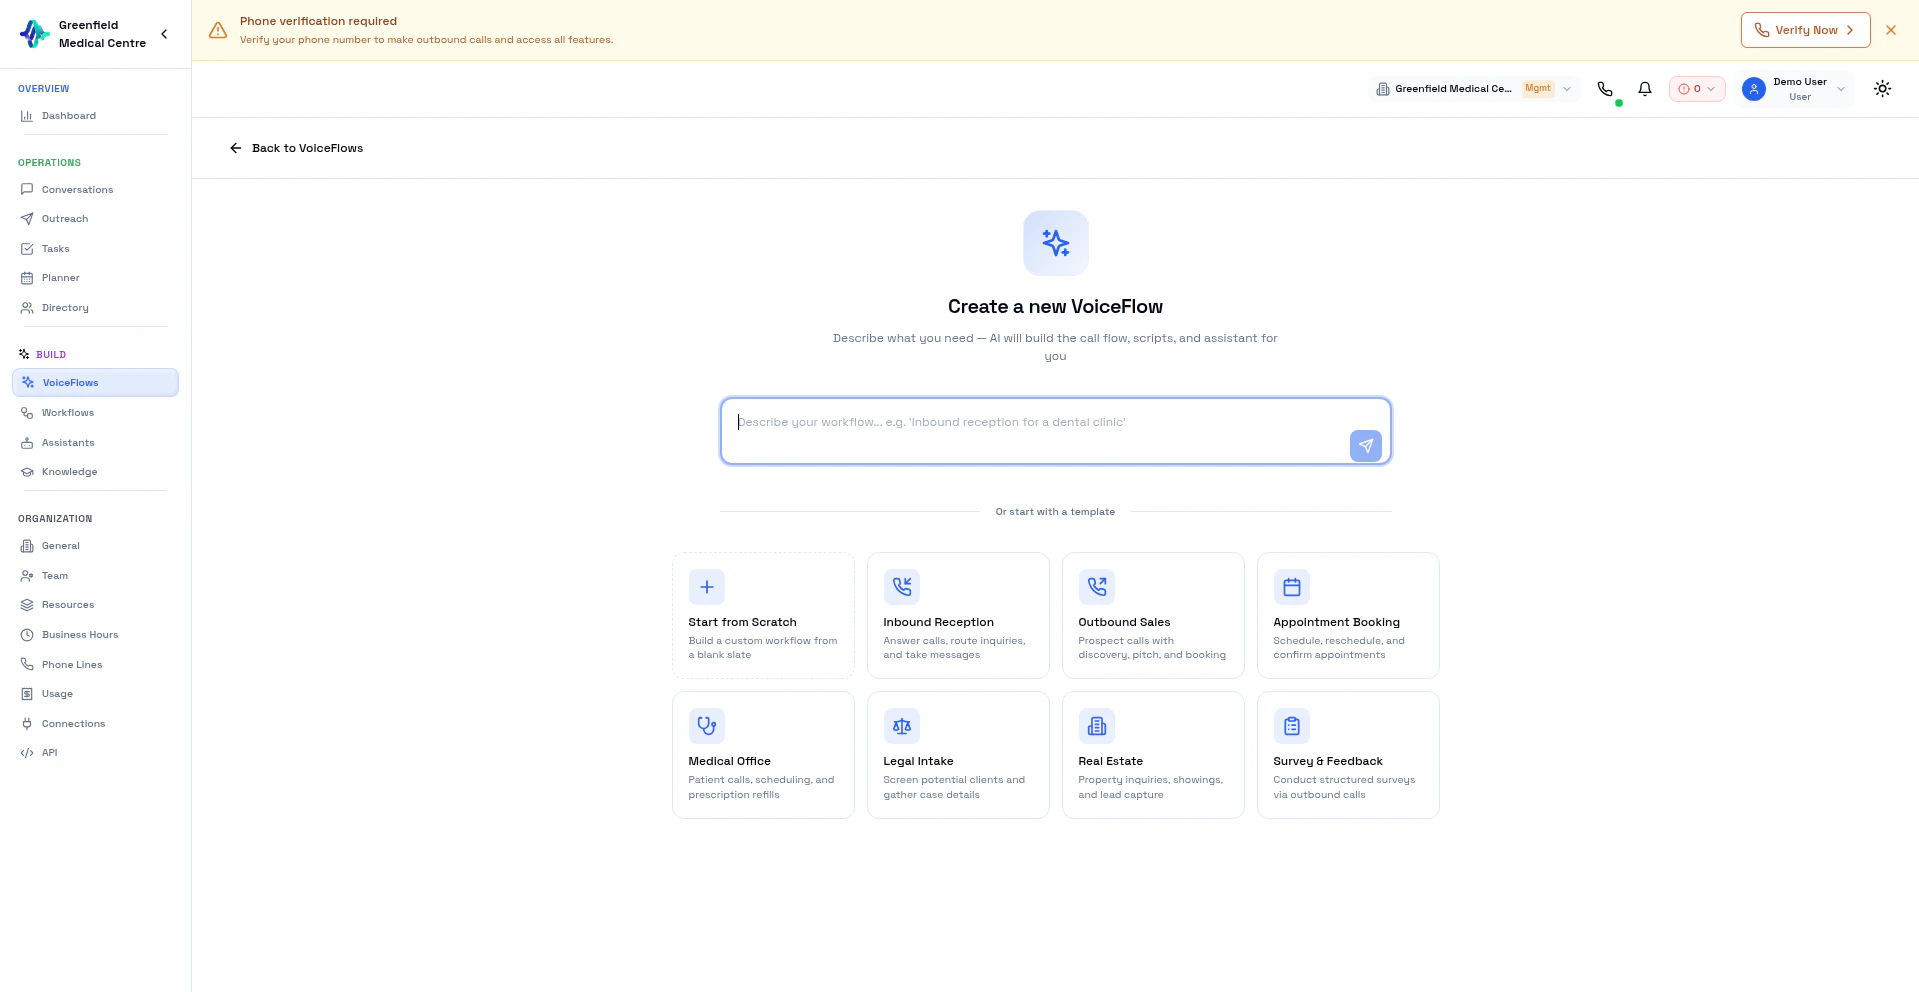
1
Describe or Pick a Template
Type a description of what you need (e.g. “Inbound reception for a dental clinic that books appointments”) or select one of the industry templates: Inbound Reception, Outbound Sales, Appointment Booking, Medical Office, Legal Intake, Real Estate, Survey and Feedback. You can also click Start from Scratch for a blank VoiceFlow.
2
Choose a Tone
The AI asks about your preferred communication style. Pick from options like Warm and friendly, Professional and formal, Casual and upbeat, or Sympathetic and gentle.
3
Select Goals
Choose what this VoiceFlow should be able to do: Book Appointment, Answer Questions, Leave Message, Check Availability, and more. Select multiple goals.
4
Review and Assign Assistant
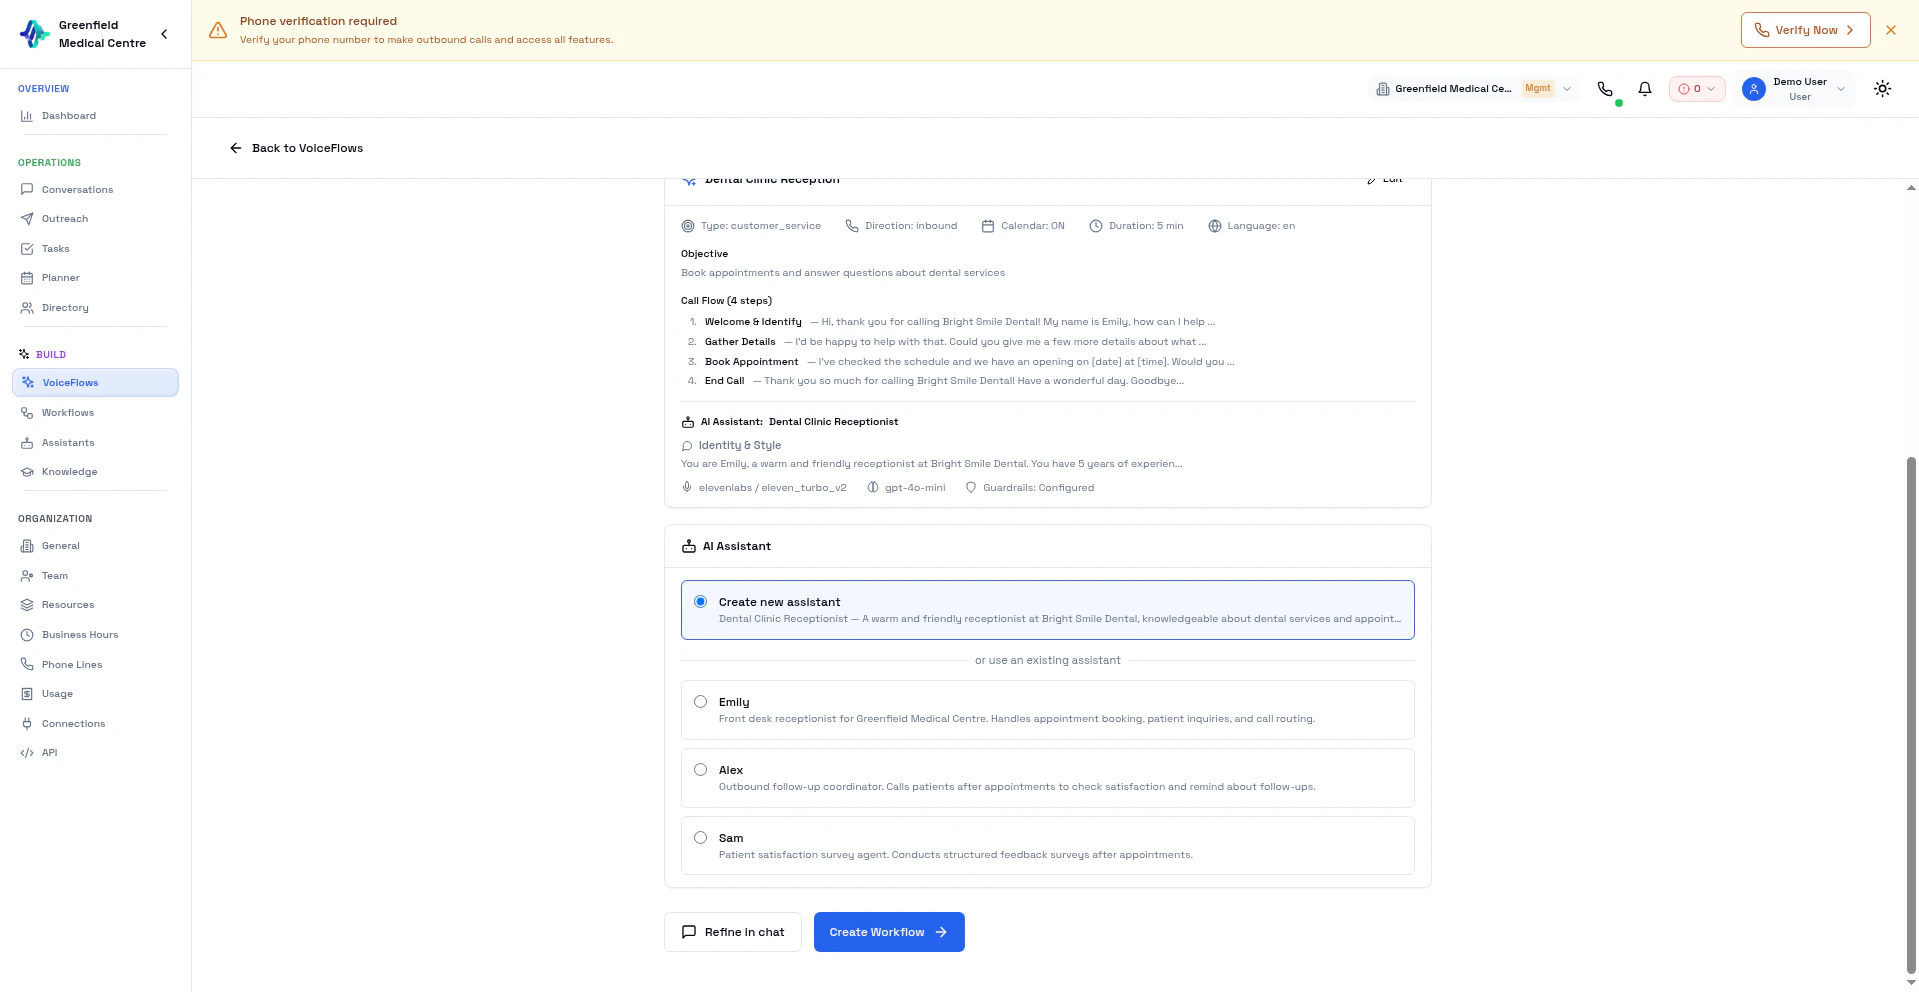
The AI generates a complete VoiceFlow with an assistant, conversation flow, and configuration. Review the suggested assistant or select an existing one from your team. Click Edit to refine the AI-generated prompt before creating.
5
Create
Click Create Workflow. Your VoiceFlow is created with the AI-generated flow, assistant, and settings. It starts in Draft mode. Toggle to Live when ready.
VoiceFlow Settings
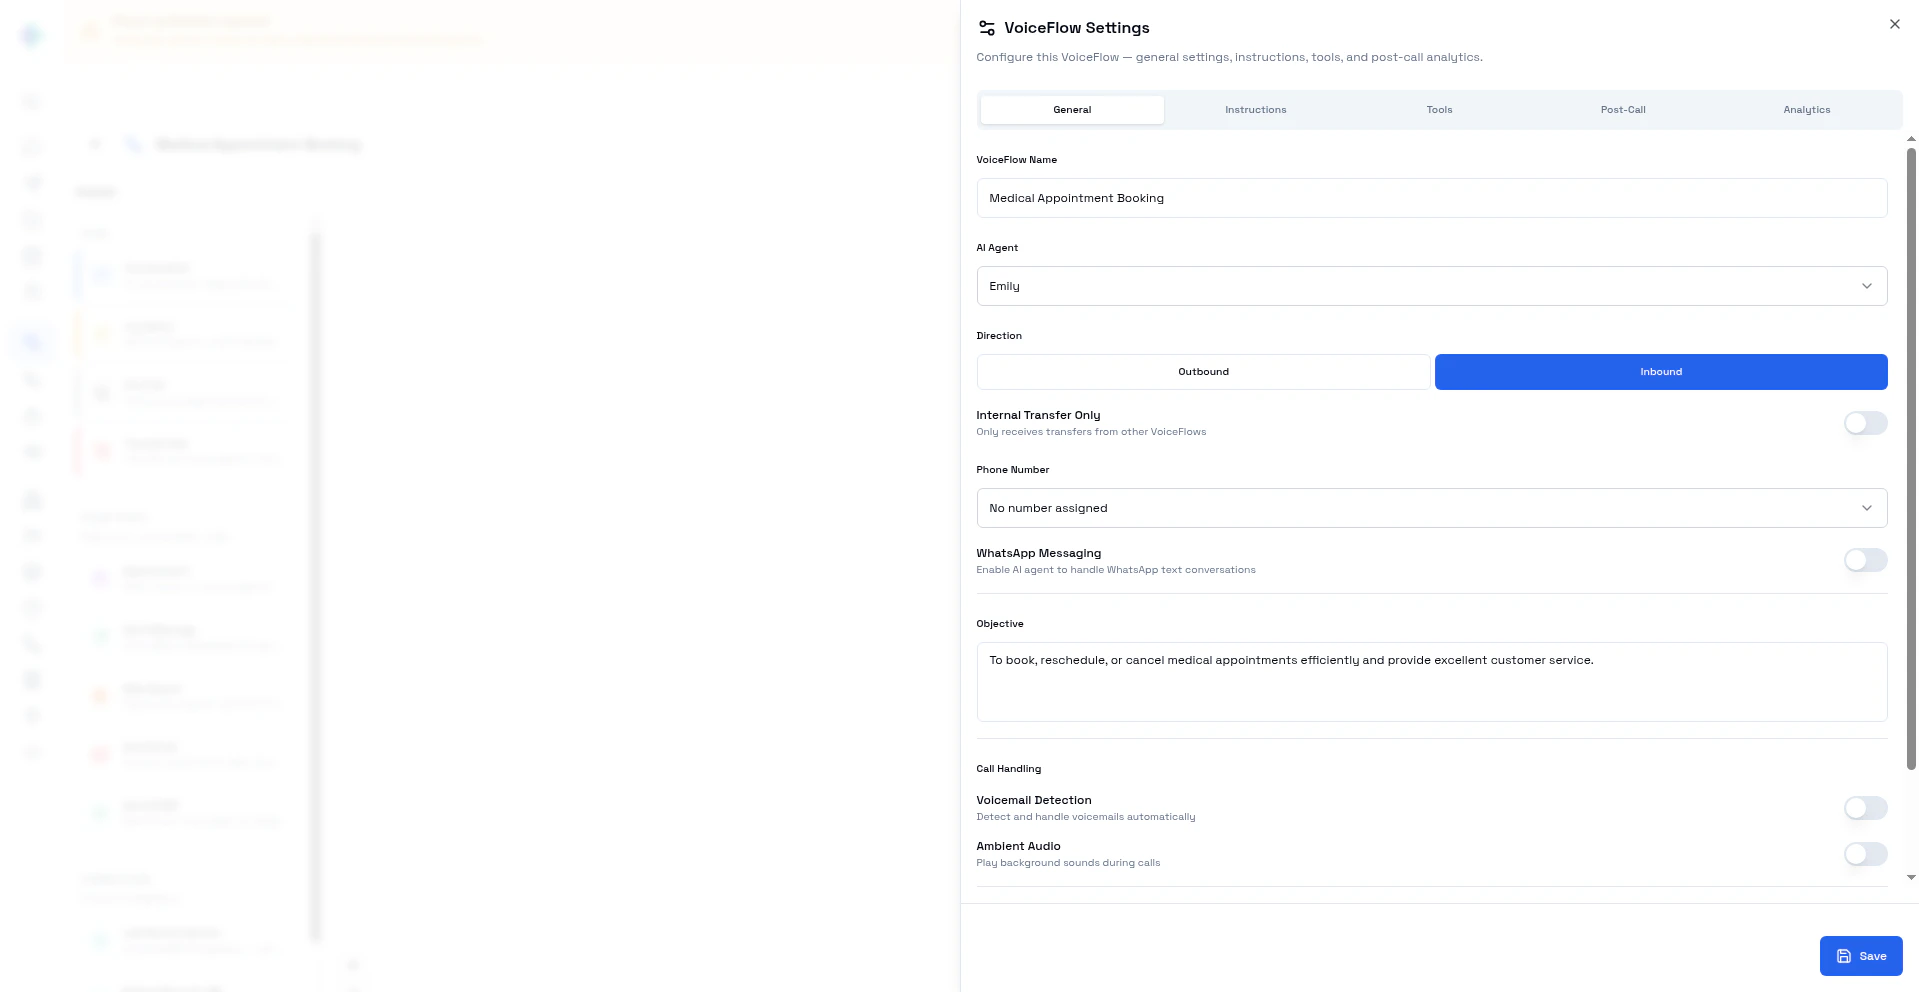
Once a VoiceFlow is created, open it to access the full settings across five tabs.General
Core configuration for this VoiceFlow:The WhatsApp Messaging toggle only appears when a WhatsApp-capable phone number is assigned. See the WhatsApp Messaging guide for details.
Instructions
The Instructions tab controls the global system prompt and safety guardrails. The system prompt defines your assistant’s personality and behavior for this VoiceFlow. It is prepended to every stage’s prompt in the Studio, so use it for company-wide rules like brand voice, compliance requirements, and language preferences. Use the Variables button to insert dynamic placeholders (contact name, company, etc.) that are filled in at call time. Rail Guards are safety boundaries enforced across all stages. Define what the AI must never do. Each guard has a name and a block action. For example: “No Medical Advice”, “Confidentiality”, “No Competitor Mentions”. Click Add to create new rail guards.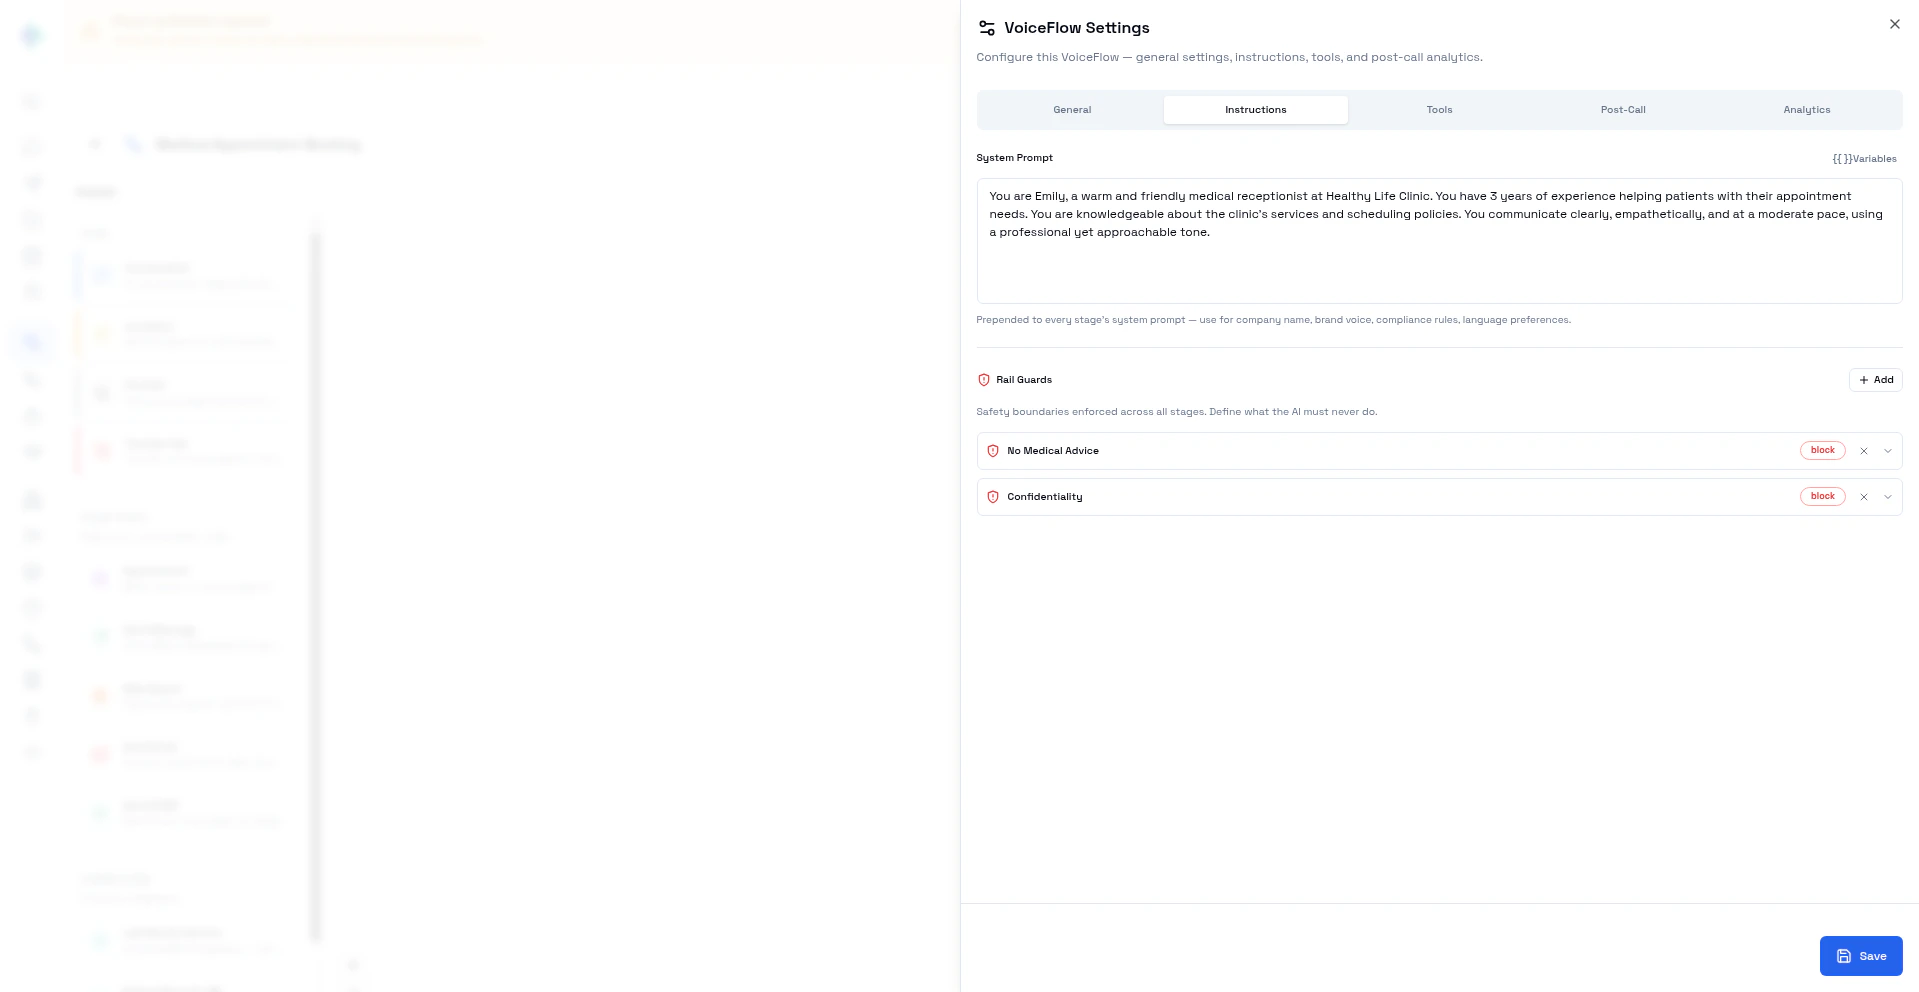
Tools
The Tools tab manages global tools available to the AI in every stage. You can also add stage-specific tools on individual nodes in the Studio. Click Add Tool to see available tools:
Click a tool to add it. Click the remove button to take it off. Tools added here are available in every stage of the flow.
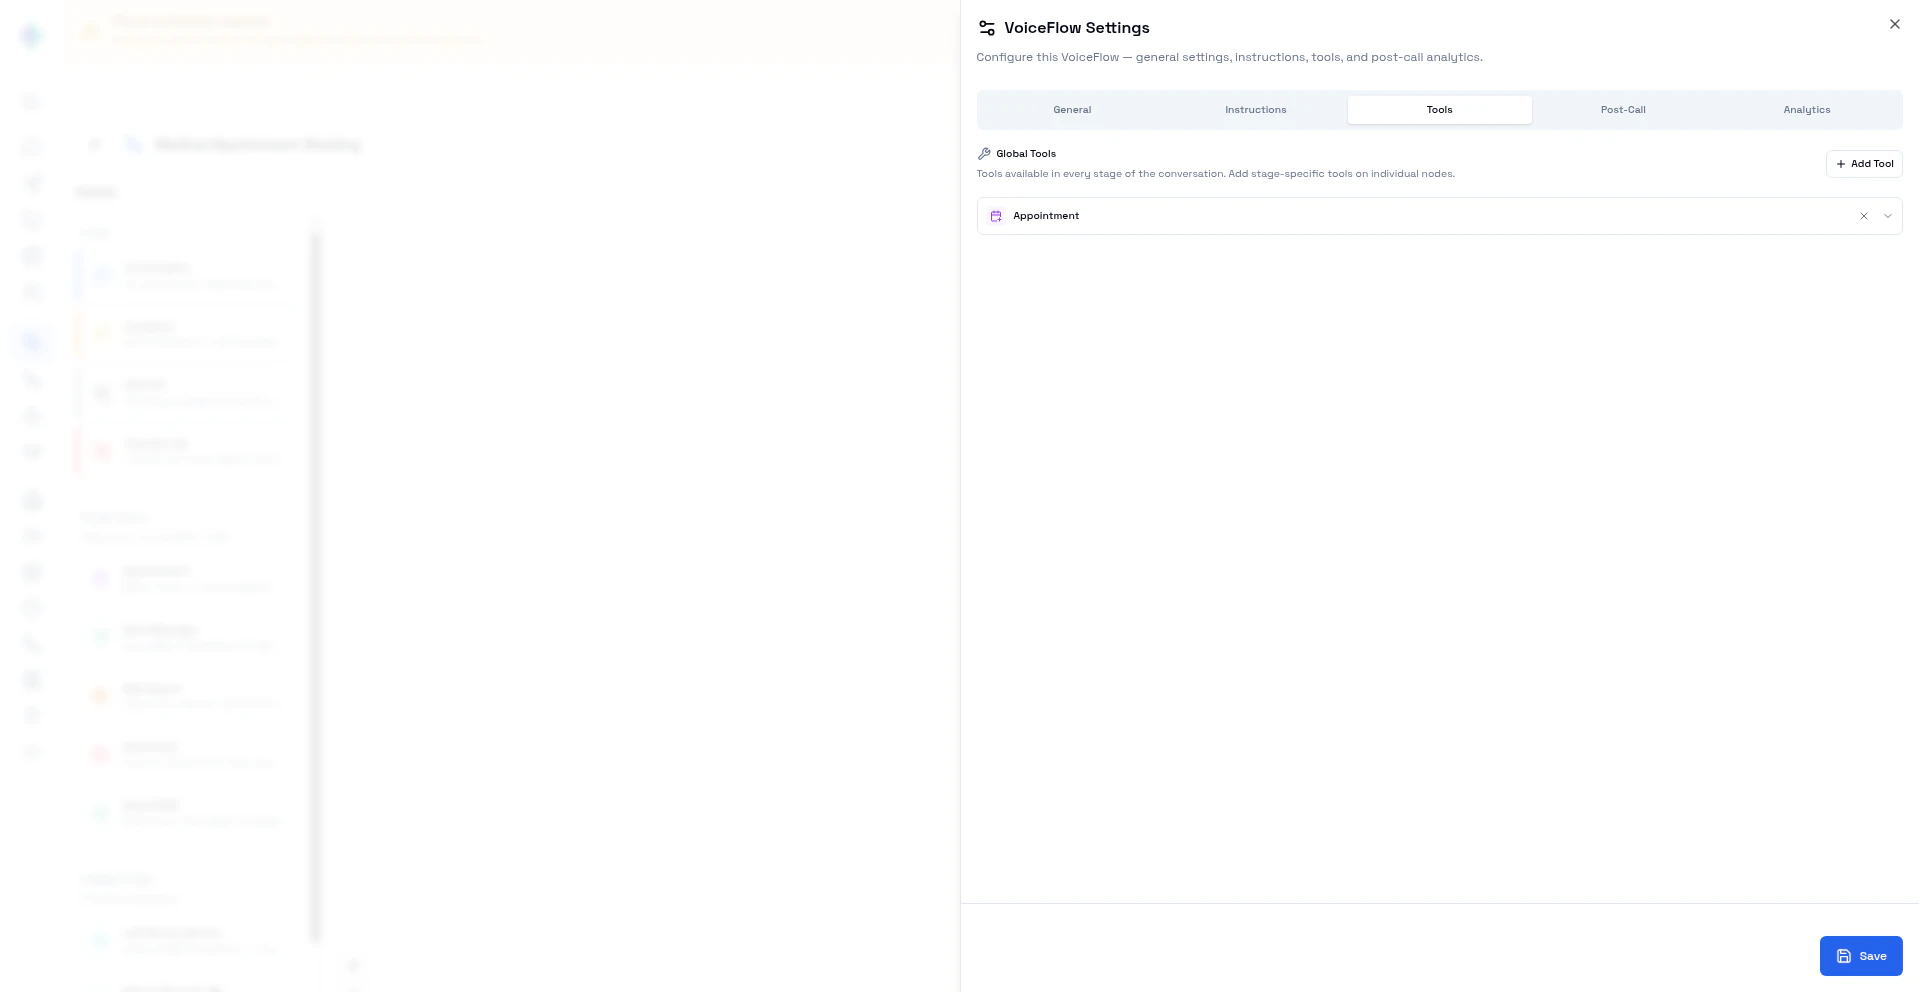
If you have linked a Workflow Collection in the General tab, its MCP tools appear in the Add Tool dropdown automatically. This is how your Activepieces workflows become callable during live calls.
Post-Call
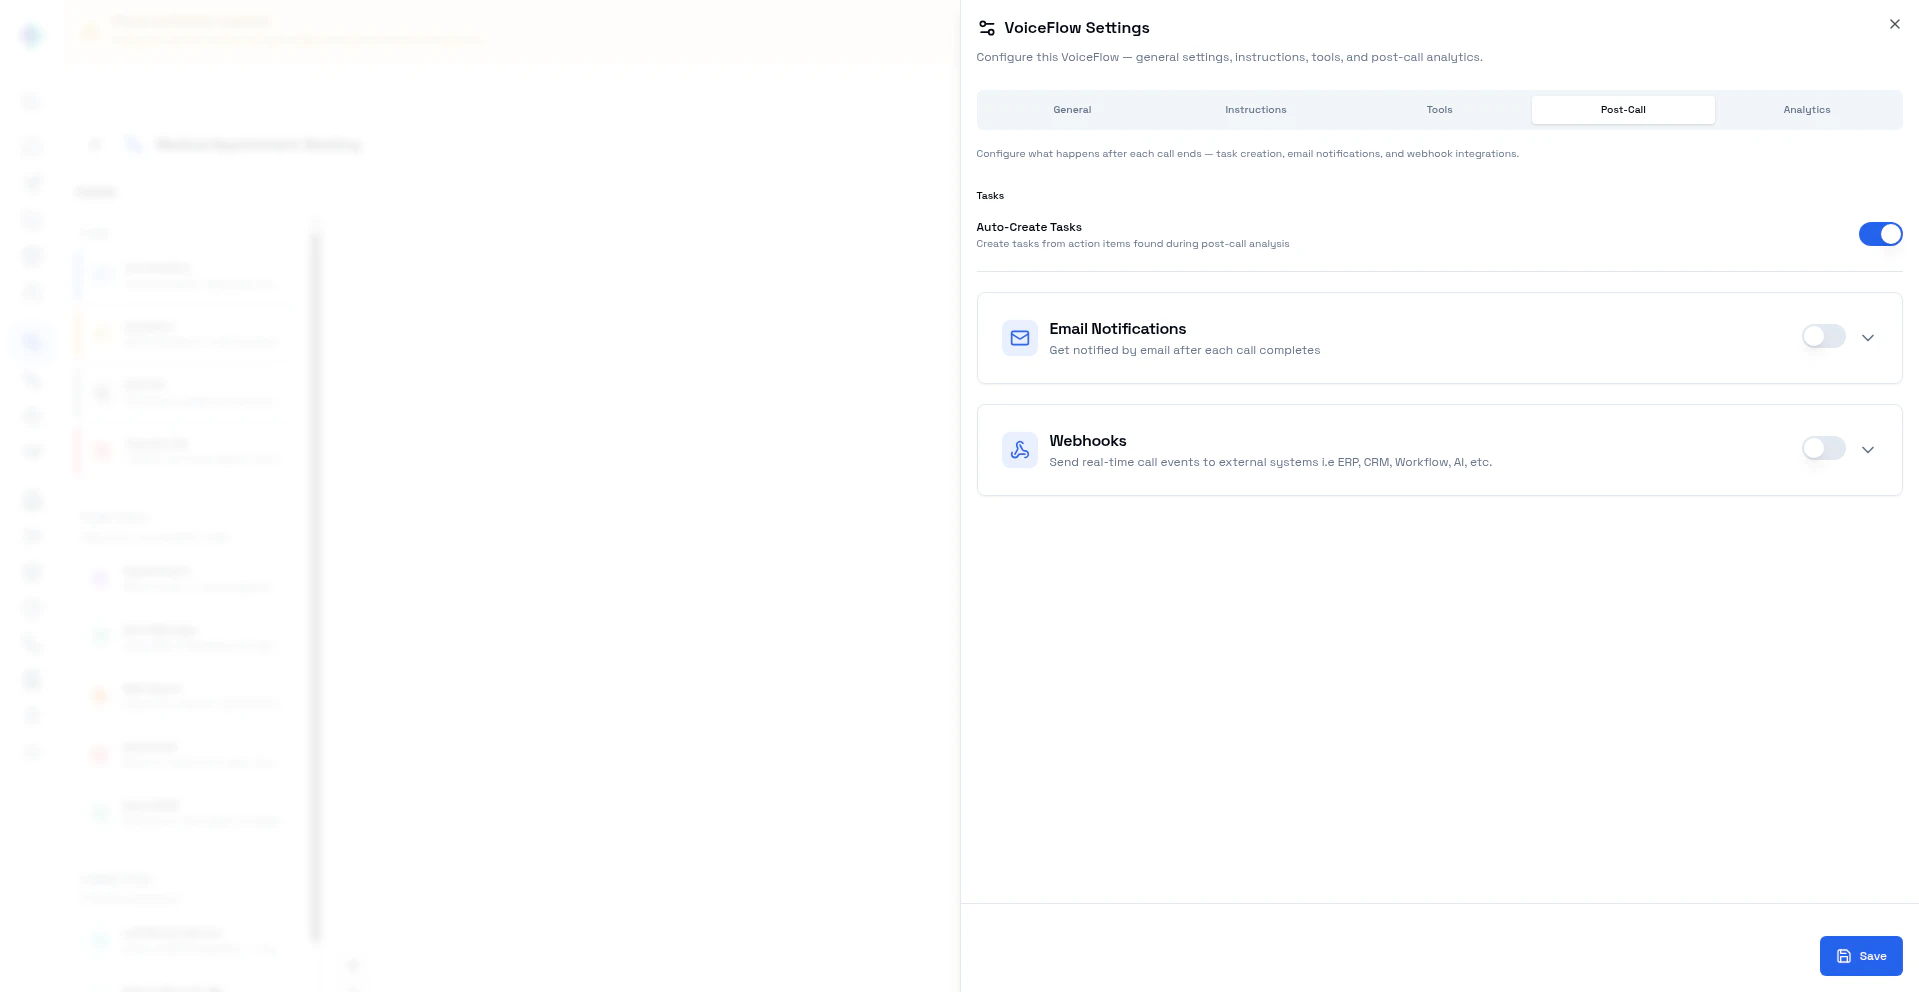
Configure what happens automatically after each call ends.
See the Webhooks guide for payload format and the Automation guide for building workflows.
Analytics
Configure the post-call AI analysis that runs automatically after each conversation ends.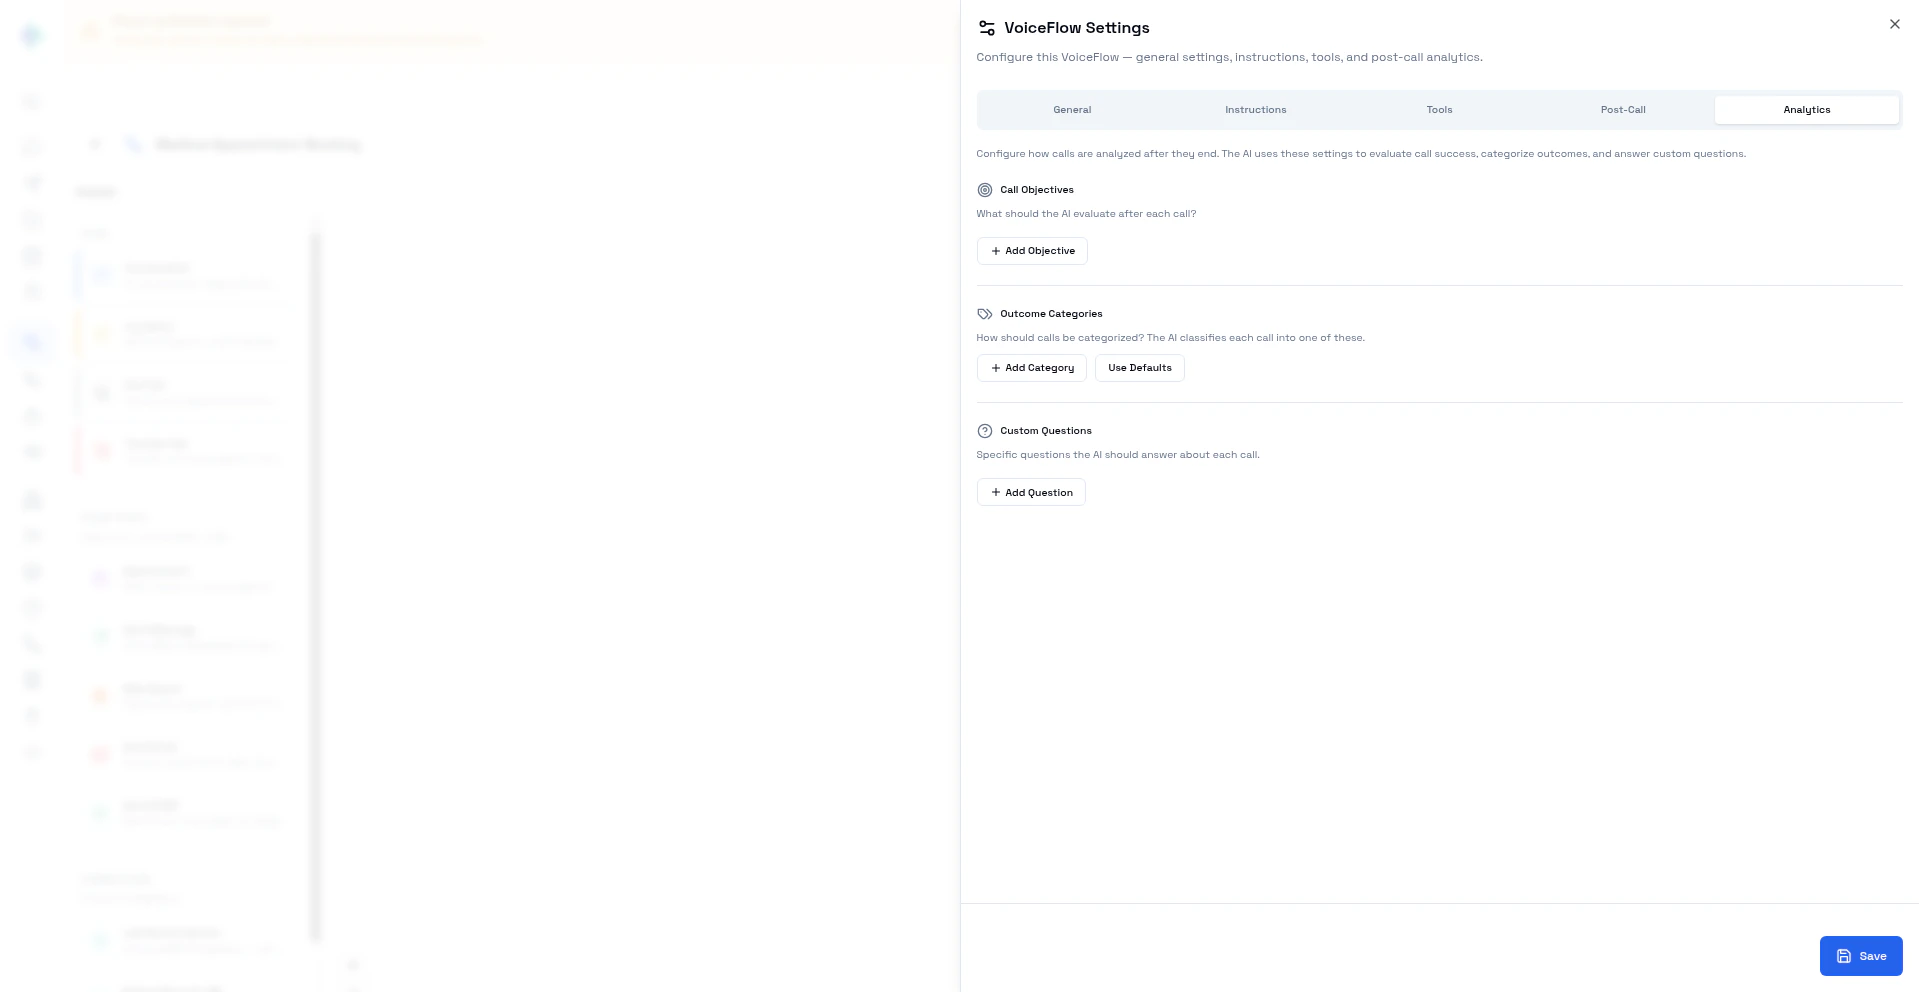
VoiceFlow Studio
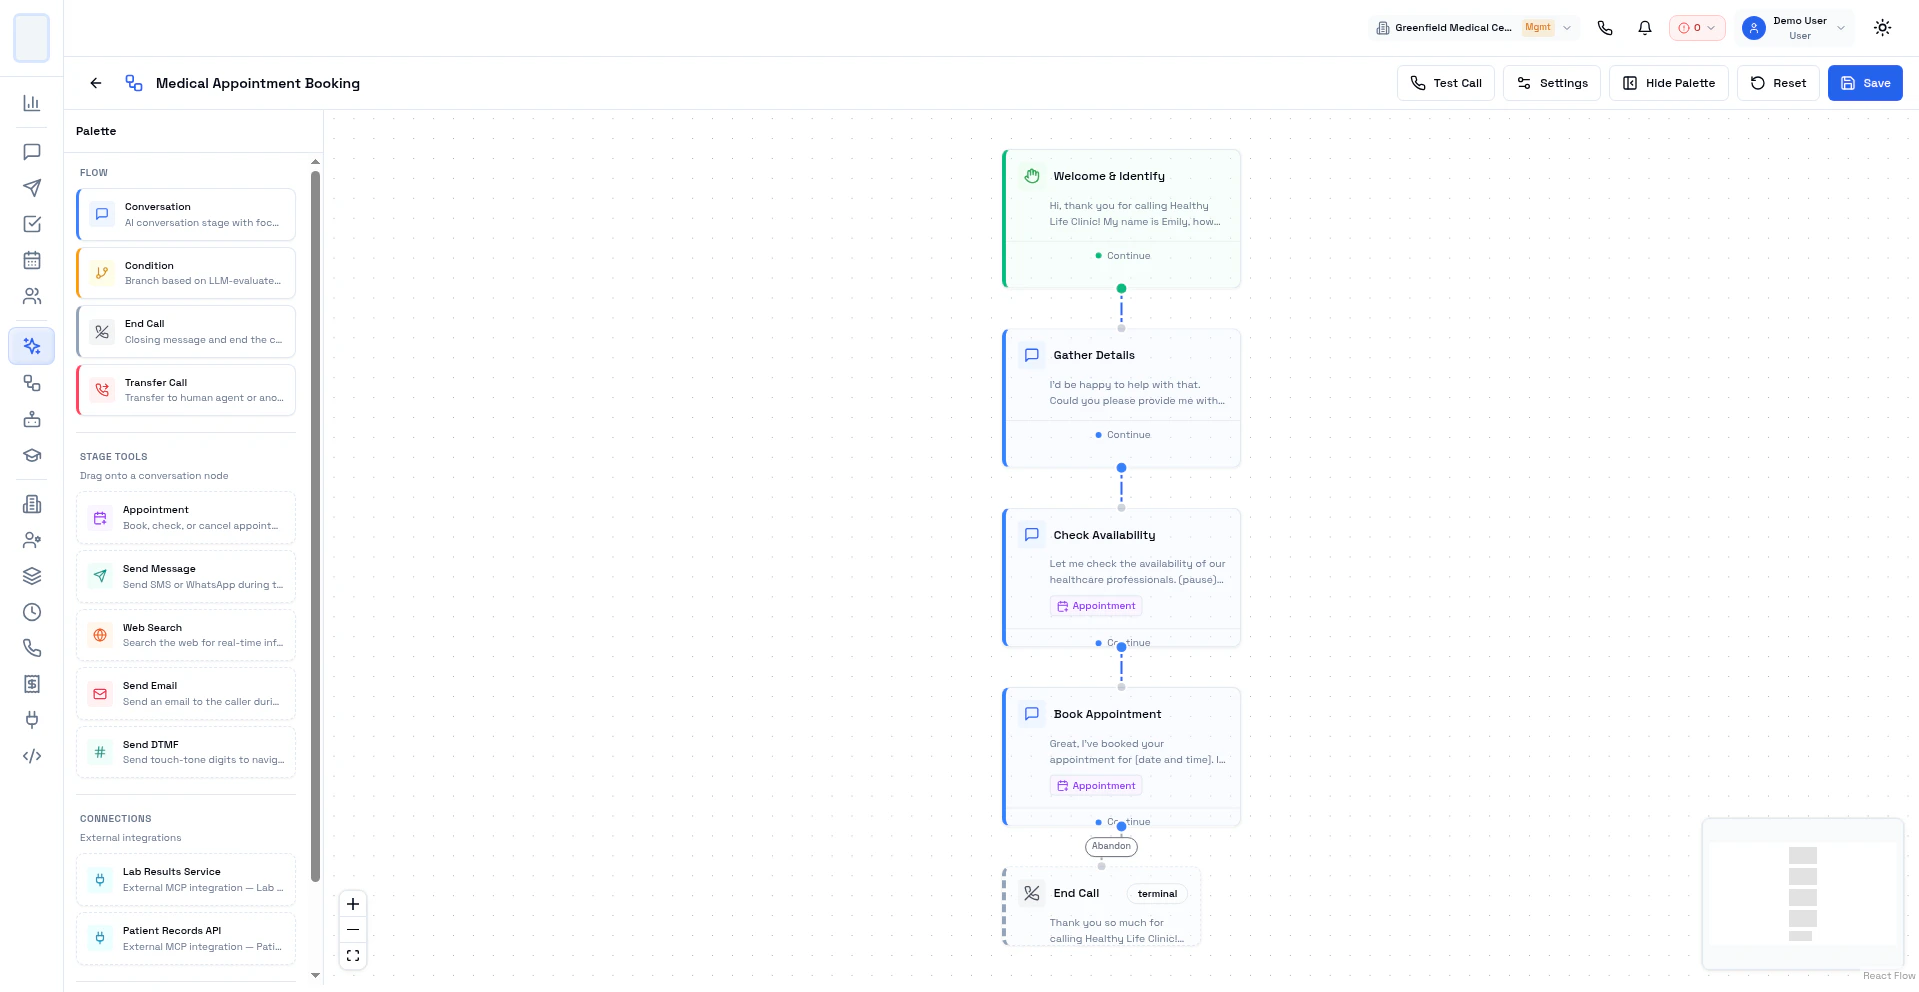
How the Studio Works
Each node is a stage in the conversation. Edges between nodes are transitions triggered by outcomes. During a live call, the AI follows the flow in real time: it enters a stage, works toward objectives, and transitions when an outcome condition is met.Node Types
Building a Flow
1
Add nodes
Click anywhere on the canvas to add a new node. Choose the node type.
2
Configure nodes
Click any node to open its properties panel. Set instructions, objectives, and which tools are available in this stage.
3
Connect nodes
Drag from one node’s output handle to another’s input handle to create a transition.
4
Define outcomes
Click any transition edge to set an outcome label (e.g. “Interested”) and an optional condition describing when it triggers.
5
Resize nodes
Use width and height inputs in the properties panel. Dimensions persist across save and reload.
AI-Generated Flows
Click Generate with AI in the toolbar. Describe what you want in plain language and the AI builds the complete flow with nodes, transitions, instructions, and outcome conditions.Flow Versioning
Click Publish to make your draft live. Only one version can be Published at a time.
Testing Your Flow
Use the Test Call button in the Studio toolbar. Choose Web test (browser audio, no credits needed) or Phone test (calls your number). After the test, review the transcript and Flow Audit in Conversations.Flow Audit
After every call, the Studio shows a Flow Audit overlay on the canvas showing which stages were visited and which transitions were taken. Visited nodes are highlighted, skipped branches remain dim.VoiceFlow Types
Sales
Sales
Outbound sales VoiceFlows for prospecting, lead qualification, and scheduling demos. Pair with Outreach to reach large contact lists at scale.
Support
Support
Inbound support VoiceFlows answer customer calls 24/7. The AI resolves issues, answers FAQs using your Knowledge Base, and transfers to a human when needed.
Marketing
Marketing
Marketing VoiceFlows handle promotional outreach, event invitations, and re-engagement campaigns. Usually outbound.
Research
Research
Research VoiceFlows conduct structured surveys and feedback calls. Analytics objectives are especially useful here.
VoiceFlow Status
Toggle between Draft and Live at any time to pause without deleting your configuration.
VoiceFlow Statistics
Open any VoiceFlow to see performance at a glance:- Contacts Reached: total calls completed
- Response Rate: percentage of outbound calls answered
- Conversion Rate: percentage achieving the defined objective
- Average Call Duration: typical call length
Inbound vs Outbound
Inbound
Customers call your phone number. The VoiceFlow answers and the AI handles the conversation. Great for support, appointment booking, and after-hours coverage.
Outbound
You call your contacts. Used with Outreach campaigns. Upload a contact list and the AI calls each one. For sales, follow-ups, reminders, and surveys.
Voice Widget
For inbound VoiceFlows, generate a widget key to embed a voice assistant on your website. Visitors click the widget to speak with your AI in real time, no phone call required. See the Voice Widget guide for the full setup instructions.Best Practices
Next Steps
AI Assistants
Create and configure the voice persona behind your VoiceFlow
Launch Outreach
Run outbound calling campaigns using your VoiceFlow
Review Conversations
Analyze call transcripts and Flow Audits after calls complete